이번시간에는 애너테이션으로 하는 방식에 대하여 공부해보았다.
package hello.core.lifecycle;
import javax.annotation.PostConstruct;
import javax.annotation.PreDestroy;
public class NetworkClient {
private String url;
public NetworkClient(){
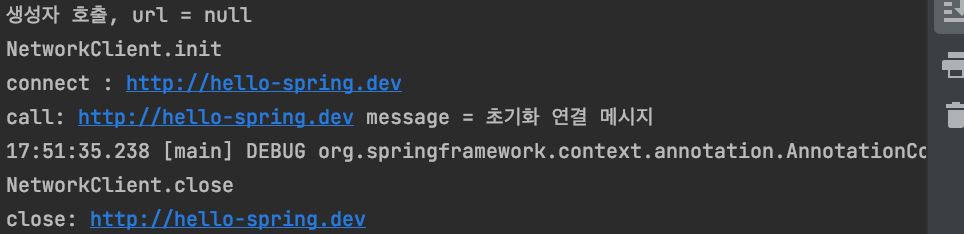
System.out.println("생성자 호출, url = " + url);
}
public void setUrl(String url){
this.url = url;
}
//서비스 시작시 호출
public void connect() {
System.out.println("connect : " + url);
}
public void call(String message){
System.out.println("call: "+ url + " message = " + message);
}
//서비스 종료시 호출
public void disconnect(){
System.out.println("close: "+ url);
}
@PostConstruct
public void init() {
System.out.println("NetworkClient.init");
connect();
call("초기화 연결 메시지");
}
@PreDestroy
public void close() {
System.out.println("NetworkClient.close");
disconnect();
}
}init()에는 @PostContruct 애너테이션을 달아주고
close()에는 @PreDestroy 애너테이션을 달아주었다.
package hello.core.lifecycle;

import org.junit.jupiter.api.Test;
import org.springframework.context.ApplicationContext;
import org.springframework.context.ConfigurableApplicationContext;
import org.springframework.context.annotation.AnnotationConfigApplicationContext;
import org.springframework.context.annotation.Bean;
import org.springframework.context.annotation.Configuration;

public class BeanLifeCycleTest {

    @Test
    public void lifeCycleTest(){
       ConfigurableApplicationContext ac =  new AnnotationConfigApplicationContext(LifeCycleConfig.class);
        NetworkClient client = ac.getBean(NetworkClient.class);
        ac.close();
    }

    @Configuration
    static class LifeCycleConfig{

        @Bean
        public NetworkClient networkClient(){
            NetworkClient networkClient = new NetworkClient();
            networkClient.setUrl("http://hello-spring.dev");
            return networkClient;
        }
    }
}
설정 정보는 초기의 코드와 같다.
@PostConstruct, @PreDestroy 애너테이션 특징
- 최신 스프링에서 가장 권장하는 방법이다.
- 애너테이션 하나만 붙이면 되므로 매우 편리하다.
- 패키지를 보면 javax.annotation.PostConstruct이다. 스프링에 종속적인 기능이 아니라는 것이다.
- 컴포넌트 스캔과 잘 어울린다.
- 유일한 단점은 외부 라이브러리에는 적용하지 못한다는 것이다. 왜냐하면 코드를 고쳐야하기 때문이다. 외부 라이브러리를
초기화, 종료해야한다면 @Bean의 기능을 사용해야한다.
@PostConstruct, @PreDestroy 애너테이션을 사용하자.
'웹프로그래밍 > Spring 핵심 원리' 카테고리의 다른 글
| 48. 프로토타입 스코프 (0) | 2021.08.23 |
|---|---|
| 47. 빈 스코프란? (0) | 2021.08.23 |
| 45. 빈 등록 초기화, 소멸 메서드 (0) | 2021.08.20 |
| 44. 인터페이스 InitializingBean, DisposableBean (0) | 2021.08.20 |
| 43. 빈 생명주기 콜백 시작 (0) | 2021.08.20 |